

10 Steps to Contribute to Open Source Projects
A short guide to creating clean, well-managed, GitHub contributions


You’ve finally decided to make your first GitHub contribution and want to quickly start making changes. Whether it’s an Open Source Software (OSS) on public GitHub or your organization’s internal project on GitHub Enterprise, there’s a well-defined process for contributing that makes your life easier and keeps your codebase clean. In this article, I’ll give you ten simple steps to ensure a quick and clean GitHub contribution.
The Contribution Lifecycle
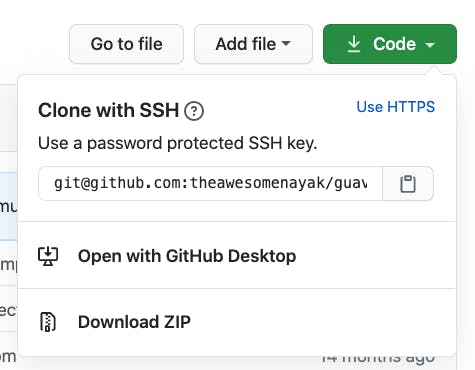
1. Fork the main repository
Forking the repository creates a copy of it in your account. You can make changes and push any code to this fork, without worrying about messing up the original code base. Click on the fork button at the top of the page to create a new fork.
The forked repository will now be available in the “Repositories” section in your account.
2. Clone the forked repository to your machine
Now we need to clone the forked repository to our machine so that we have a local copy of the code. Click on the clipboard icon next to the SSH or HTTPS URL of your forked repository to copy it.
Now open a terminal on your machine and run the following command to clone the forked repository:
git clone git@github.com:theawesomenayak/guava.git
3. Create a feature branch
While making any change to the code, a best practice is to create a new feature branch for the changes we need to make. This ensures that we keep the master branch clean, and are able to simply revert our code or make updates when necessary.
Switch to the directory that was created after you cloned the forked repository:
cd guava
Create a new feature branch with a name that identifies with the changes you are planning to do. For example:
git checkout -b fix-npe-issue
4. Commit your changes to the feature branch
If you have created any new files as part of your change, you will need to add it to the branch you just created.
git add <filename>
For all the changes made, you have to commit them to the branch. Make sure you add a valid commit message (as per the conventions of the project):
git commit -m "Fixed the NPE issue due to a null key used in cache"
5. Push the feature branch to your fork
Now it’s time to push your commit to your forked repository:
git push origin fix-npe-issue
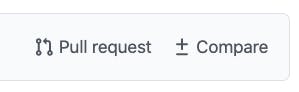
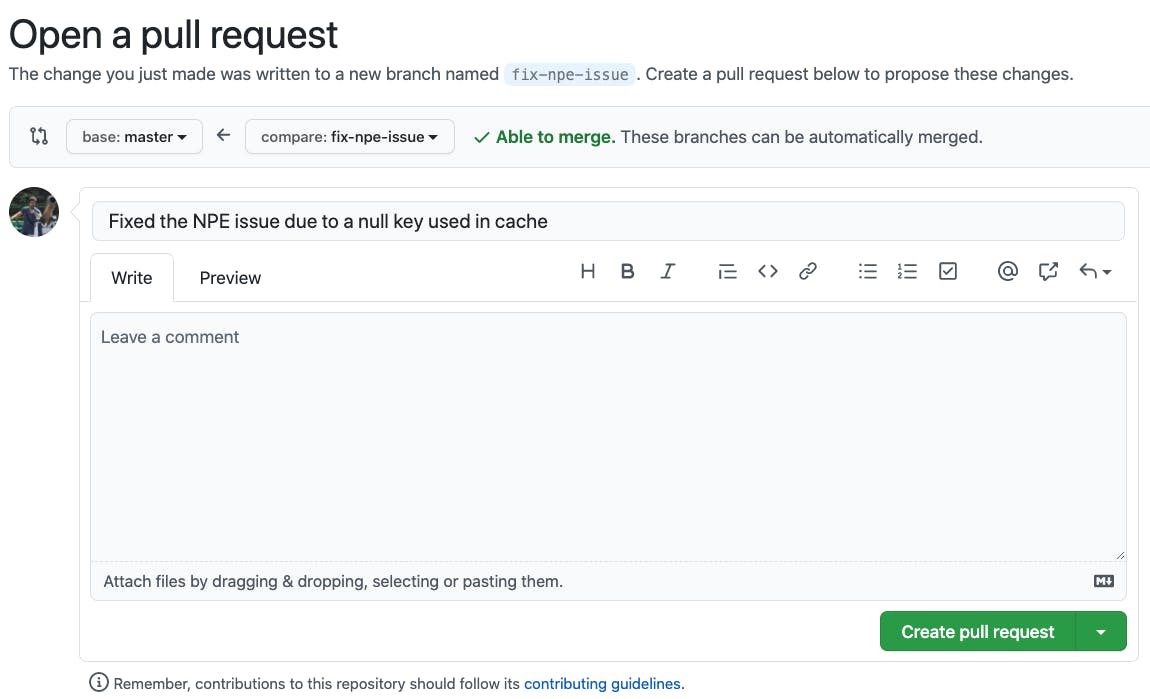
6. Raise a Pull Request against the main repository
Once you have pushed your code to your forked repository, it's time to raise a PR against the main repository. Click on the “Pull Request” button to start a new PR.
This takes you to a screen where the changes in your forked repository are compared with the code in the main repository. You can review the changes and provide a valid description of your changes before submitting them.
7. Address review comments and get your PR merged
The code maintainers will often come back with certain comments around the changes you have made. These could either propose functional changes, or cosmetic changes such as formatting, etc. Once you make these changes, simply push them to your branch and the PR will be automatically updated.
Once the changes are good, a maintainer will merge them to the main repository. Congratulations!!! You are now officially an open-source contributor.
8. Add the main repository as an upstream to your cloned repository
Many other developers, apart from you, also keep merging their code into the main repository. We need to continuously sync our forked repository with it to get the latest code available.
Your cloned repository is linked to your forked repository. To keep your fork in sync with the main repository, you’ll need to connect them by adding the main repository as an upstream in your cloned repository.
git remote add upstream git@github.com:google/guava.git
Verify that the upstream has been set correctly using the following command:
git remote -v
It should display the following values to confirm that the origin and upstream are pointing to the correct repositories:
origin  git@github.com:theawesomenayak/guava.git (fetch)
origin  git@github.com:theawesomenayak/guava.git (push)
upstream        git@github.com:google/guava.git (fetch)
upstream        git@github.com:google/guava.git (push)
9. Update your master branch from upstream
Once the upstream is set, you can pull in changes that have been done in the main repository by other developers. This updates the cloned repository on your local machine:
git pull upstream master
10. Push the master branch to your fork
Once you have all the updates on your local machine, you will need to push them to your forked repository so that it's in sync with the main repository:
git push origin master
(Optional) Delete your feature branch
Once the feature has been merged into the main repository, it’s no longer needed and can be deleted:
git branch -d fix-npe-issue
You can also delete the remote branch from your forked repository:
git push origin --delete fix-npe-issue
Conculsion
Contributing to GitHub projects can be tricky depending on how many developers are concurrently working on it. Hopefully, this article clears the air around the process of making GitHub contributions and makes your development cycle a bit easier.
Thank you for staying with me so far. Hope you liked the article. You can connect with me on LinkedIn where I regularly discuss technology and life. Also take a look at some of my other articles and my YouTube channel. Happy reading. 🙂